Ceramics Assignments
In art class it is perfectly normal for students to work at different paces. Some students finish up earlier than others and some students take more time. Please allow for some flexibility on dates, as I am flexible with my students and try to meet their individual needs. Generally speaking, students have a 2-3 day rolling deadline to finish up projects. Sometimes after introducing a new project I will still have students finishing up the previous one. This is normal.
Lessons are subject to change if I feel a change is in the best interest of the class.
Lessons are subject to change if I feel a change is in the best interest of the class.
Week 18 & Final Exam Week
May 27-31
-AND-
June 3-7
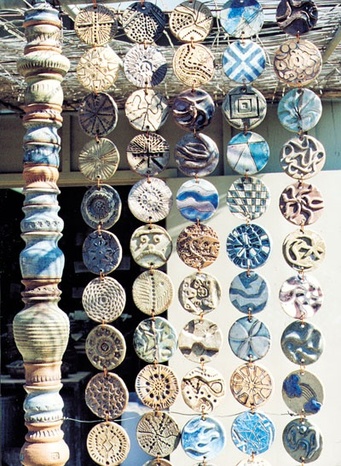
Objective:
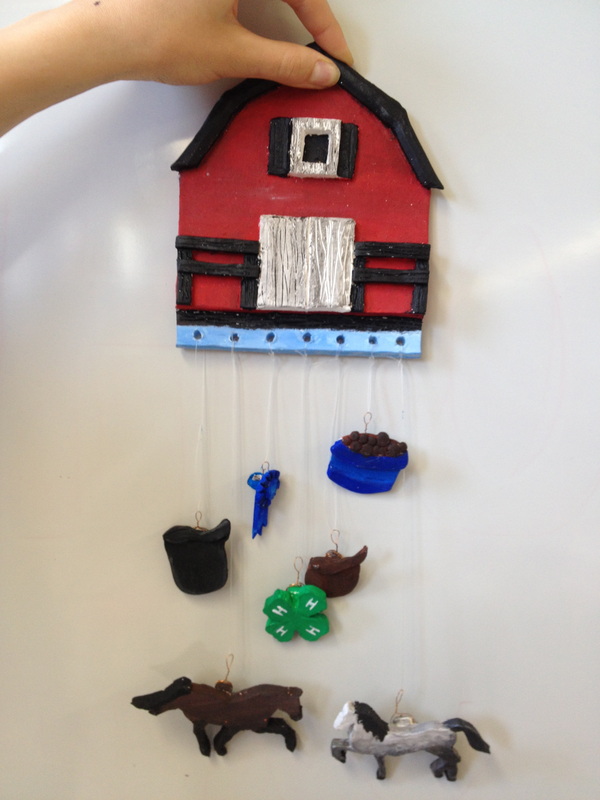
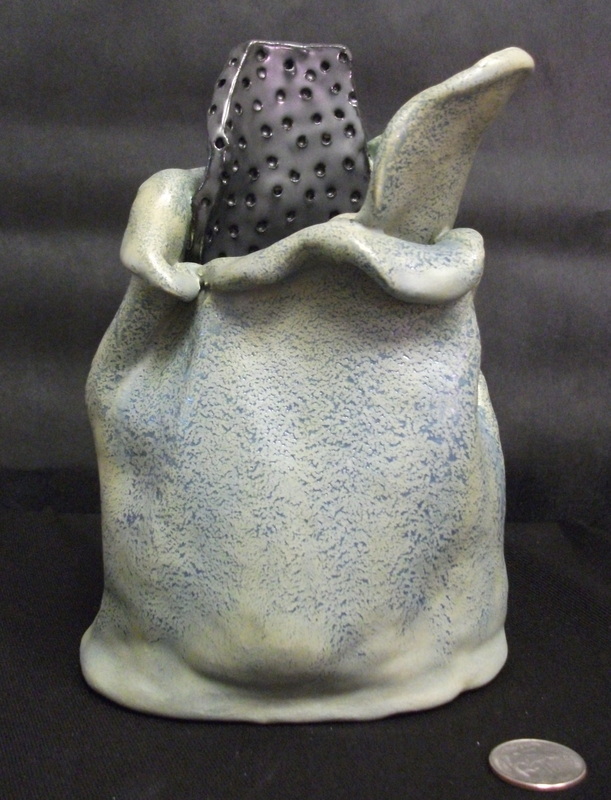
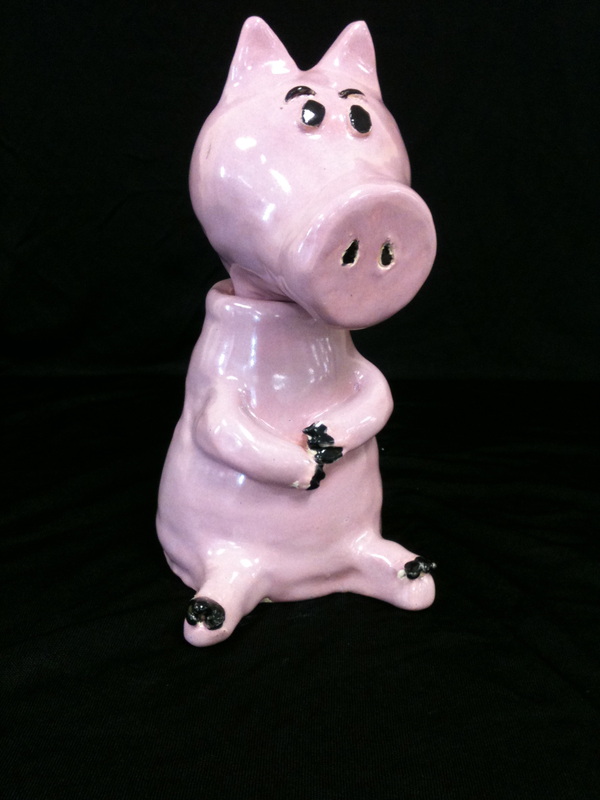
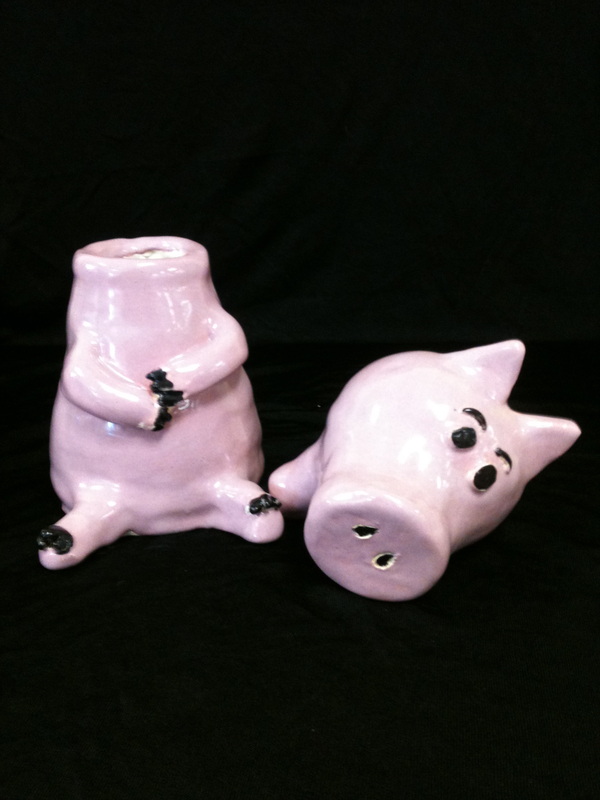
Students will paint mobiles so that personal intentions are carried out in their work.
LAST DAY FOR WET CLAY IS FRIDAY MAY 31ST!!!
Requirements:
1. Mobiles must be painted and not glazed
2. Must be painted on all sides
3. Must mix own colors
4. Must show some value in painting and not just straight color.
5. Must be assembled together to receive full credit.
EARLY FINISHERS:
Those who finish early or are waiting for their work to come out of the Kiln will work on the Westview Orchards Corn Maze competition. Theme: Happy 200th Birthday Westview Orchards. 1st Prize is $100. 2nd Prize: 4 passes to the orchard. 3rd Prize: $25 gift certificate.
Week of June 3RD
Final projects are to be completed by the day of the exam.
Blog Post is 5% of final exam grade
Mobile is 10% of final exam grade
Test is 5% of exam grade.
Total exam grade is 20% of final grade.
WEDNESDAY JUNE 5TH IS OFFICIALLY CLEAN THE ROOM DAY. Students should come prepared to clean tools, supplies, and surfaces.
-AND-
June 3-7
Objective:
Students will paint mobiles so that personal intentions are carried out in their work.
LAST DAY FOR WET CLAY IS FRIDAY MAY 31ST!!!
Requirements:
1. Mobiles must be painted and not glazed
2. Must be painted on all sides
3. Must mix own colors
4. Must show some value in painting and not just straight color.
5. Must be assembled together to receive full credit.
EARLY FINISHERS:
Those who finish early or are waiting for their work to come out of the Kiln will work on the Westview Orchards Corn Maze competition. Theme: Happy 200th Birthday Westview Orchards. 1st Prize is $100. 2nd Prize: 4 passes to the orchard. 3rd Prize: $25 gift certificate.
Week of June 3RD
Final projects are to be completed by the day of the exam.
Blog Post is 5% of final exam grade
Mobile is 10% of final exam grade
Test is 5% of exam grade.
Total exam grade is 20% of final grade.
WEDNESDAY JUNE 5TH IS OFFICIALLY CLEAN THE ROOM DAY. Students should come prepared to clean tools, supplies, and surfaces.
Week 16 & 17 - Picture Frames & MobilesMay 13 - 17
-AND- May 20-25 Objective: 1. Students will design and create a unique picture frame using design principles learned in class 2. Students will create a mobile based off of a theme of choice 3. Senior students may choose to do the Altoid Tin scrapbook that the jewelry class is doing and it will count as their final project. Brainstorming: A Power Point showing the various possibilities for making a picture frame. Trip to the computer lab to get ideas for work Students may use their phones to get ideas Teacher Demonstrations: - How to roll even slabs and prevent warping of the picture frame. - Demo on how to use sticks from nature as hanger from mobile. Sticks can be wrapped in yarn or other materials as well. |
|
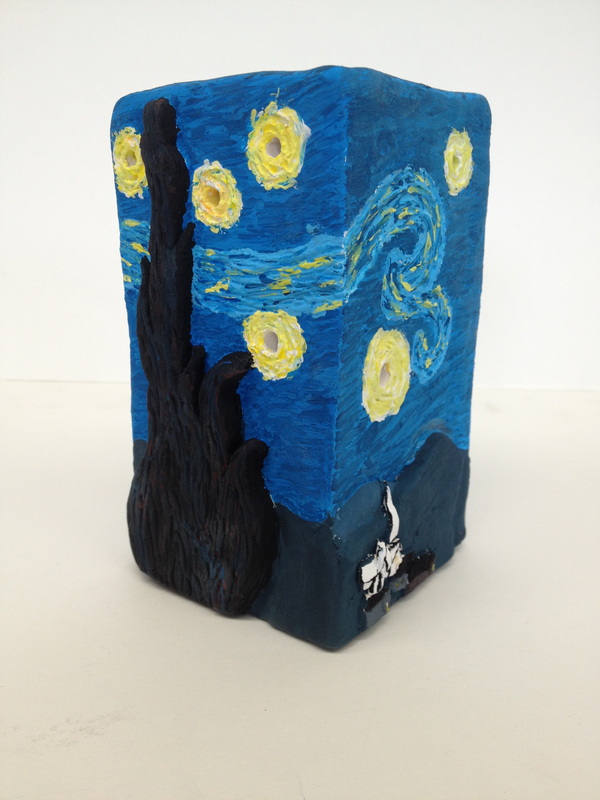
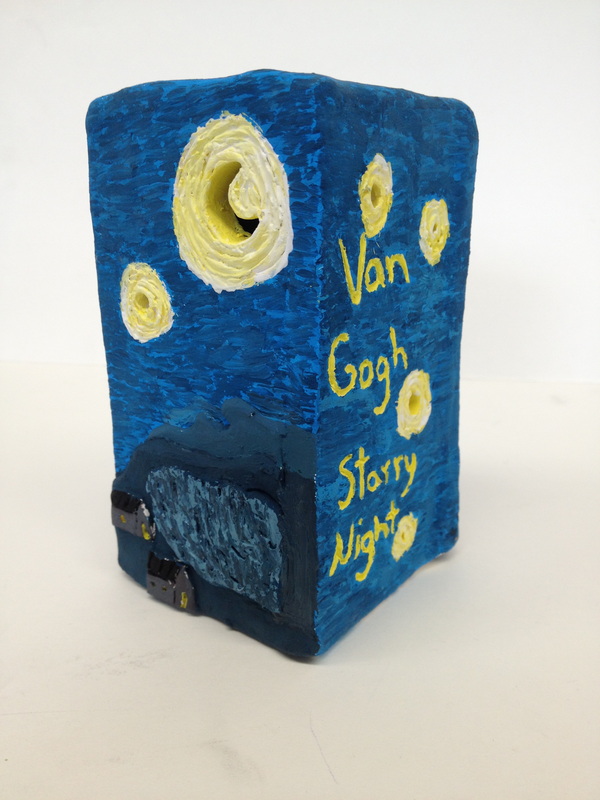
Week 15 - 3-D Famous PaintingMay 6-11
Objective: Students will create a 3-D version of a famous painting from art history Students will learn about a famous artist and artistic period of their choice Brainstorming: Students will go to the library to browse artworks of art history Students must fill out art history worksheet about artist and art movement Noteworthy: 1. Students will draw out idea for their sculpture 2. Students must decide how to make the painting 3-D - It can be a 3-D tile replica of entire painting - It can pe a 3-D tile of a portion of the painting - It can be a Sculpture of all or a portion of the painting 3. Students must make the work three dimensional. Students may NOT simply draw the design onto the clay, but rather add clay designs onto the clay. |
|
Week 14 - Glazing and Catch Up WeekApril 29 - May
Objective: Students will paint/glaze masks and wall pockets with careful and skillful detail. Students who are behind on projects will use this week to gain ground on work so that that students are all on track again. Teacher Demonstrations: Demo on how to apply embellishments (such as feathers, jewels and ribbon) to masks. Important Information for Wall Pockets All students will likely want to glaze their wall pockets if the intention is to use them outdoors to plant flowers. Paint will not withstand the elements, however, polyurethane may be used to try and seal the work if paint is desired. Students should plan on using more than one color of glaze for their work, as one color alone will make the work less attractive. |
|
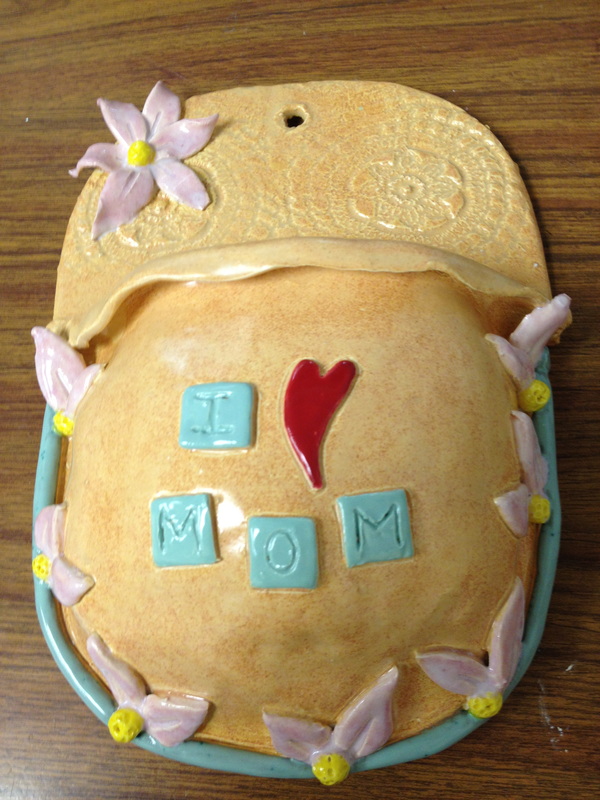
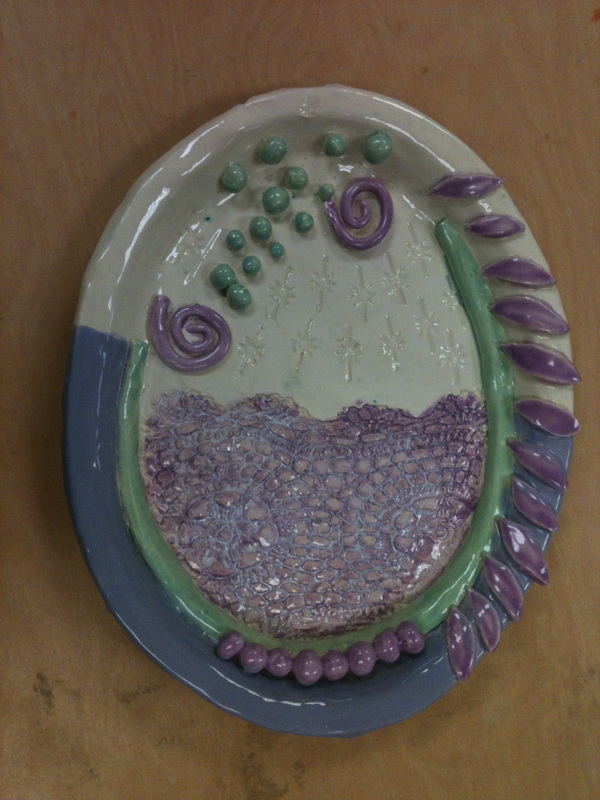
Week 13 - Hanging Wall PocketsApril 22 - 26
Objective: Using Mothers Day as the theme, students will design and create a wall pocket that exhibits good clay techniques, shows evidence of Principles of Design/Elements of Art, such as line and texture. Brainstorming: Students will print up 2-3 pictures from the library of various wall pockets. These pictures should not be coped, but used as inspiriation for their own ideas. Students may also use their phones to generate ideas. Physical examples of the project will also be provided for inspiration. Teacher Demonstration: Many of the skills needed to make this project have been learned though out the year. There will be a quick demonstration on how to use newspaper to create the pocket for this artwork. The teacher will also deomonstrate how to add on decorative elements, curl the slabs and suggest poking holes in it for drainage. |
|
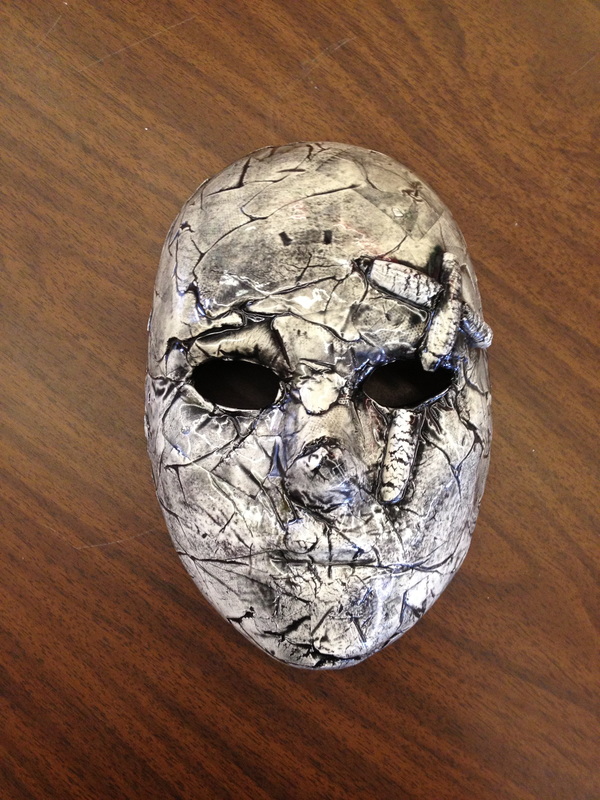
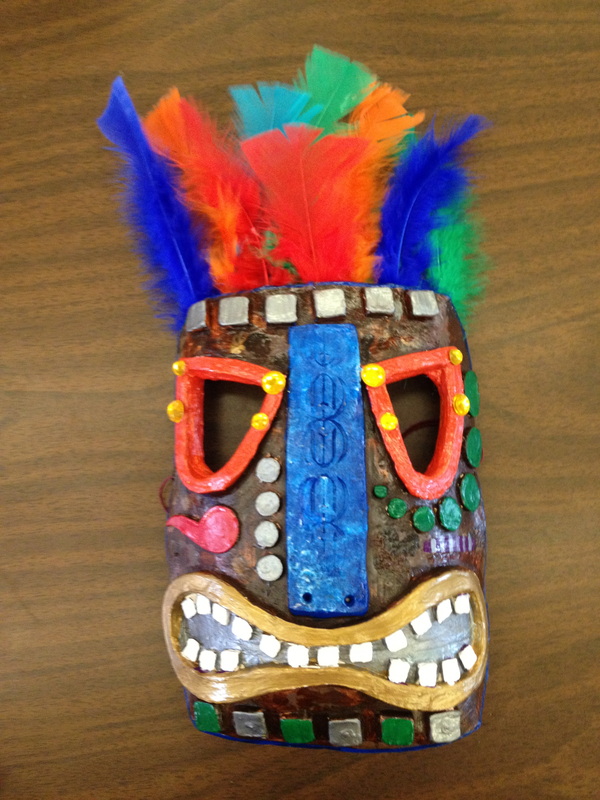
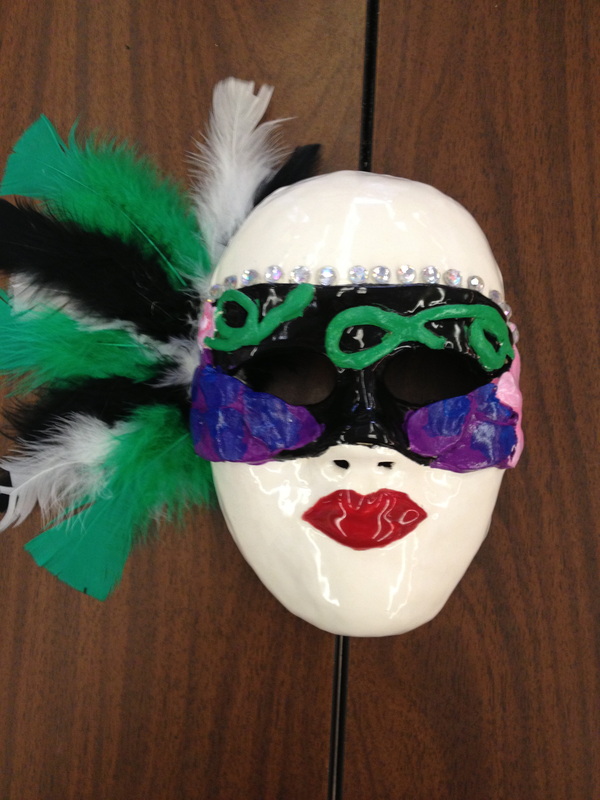
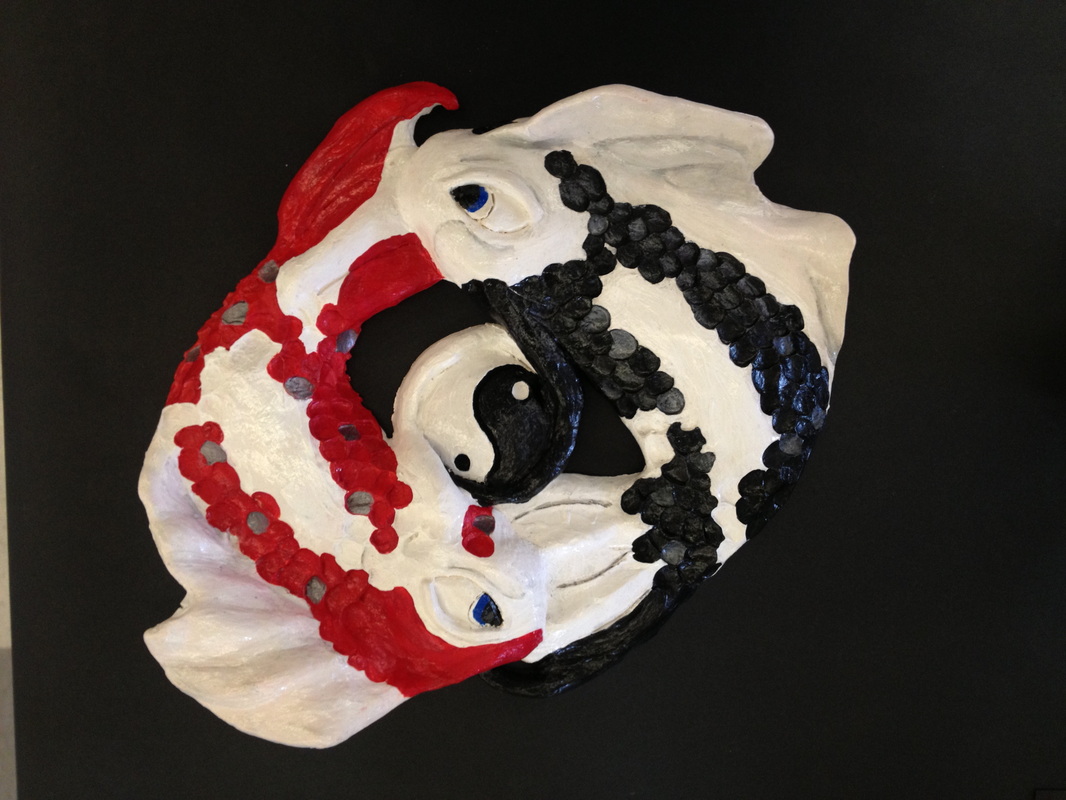
Week 11 & 12 - Masks & Green MenApril 8-12
- AND - April 15-19 Objective: Students will learn the history behind what a Green Man is and its architechtural significance. Students will explore other cultures to make a mask or green man out of clay. Brainstorming: Power Point on various images of Green Men and Masks Trip to the library to gather images and inspiration Teacher Deomnstrations: *Classoom instruction breaking down the proportions of the human face. *Demo on how to use the plastic masks to form a basic human face, but then add embellishments. * Strees the need to layer the look of the mask and green men with leaves and decorative elements. |
|

Week 10 - GlazingMarch 25 - 28
Week Before Spring Break Objective: 1. Students will paint or glaze their teapots, pitchers and mugs as well as their free choice projects with sufficient skill and confidence so that personal intentions are carried out in their artwork. 2. Students will wrap up all wet clay work before the we leave for Spring Break so that nothing dries out. Misc Information: All students know how to glaze at this stage of the game, but there is an emphasis on glazing cleanly and neatly, making sure no glaze touches the bottom. Also, students are encouraged to paint pitchers and mugs using more than one color. More is expected of students in second semester to achieve detail in glaze or painting, or if simplicity is desired, that all areas of clay are neatly covered. |
|
Week 8 & 9 - Free Choice ProjectMarch 11-15
-AND- March 18-22 Objective: Using a variety of methods learned in class, students will draw upon their own individual ideas and preferences to come up with an art piece of their choice. Brainstorming: Power Point of different possibilities Students will go down to the computer lab to get ideas for a project Teacher Demonstrations: No set demonstration is planned, rather students will be given individual instruction based upon the idea they choose. Project Specifics: 1. Project should fit the ability level of the student. 2. Project should be toughtfully and creativly made. Do not copy someone elses idea. Use thier idea and deviate from it. 3. Projects may fall into one of these categories: - A clay sculpture (Cartoon or realistic) - A dwelling of some sort (tree house, tower, castle, light house) - A sculpture of a human or human head - Set of 3 nesting bowls |

|
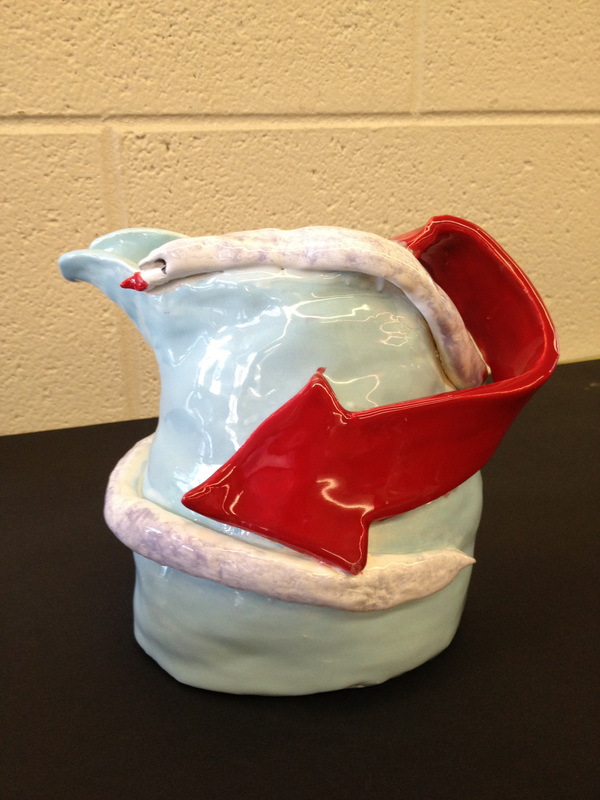
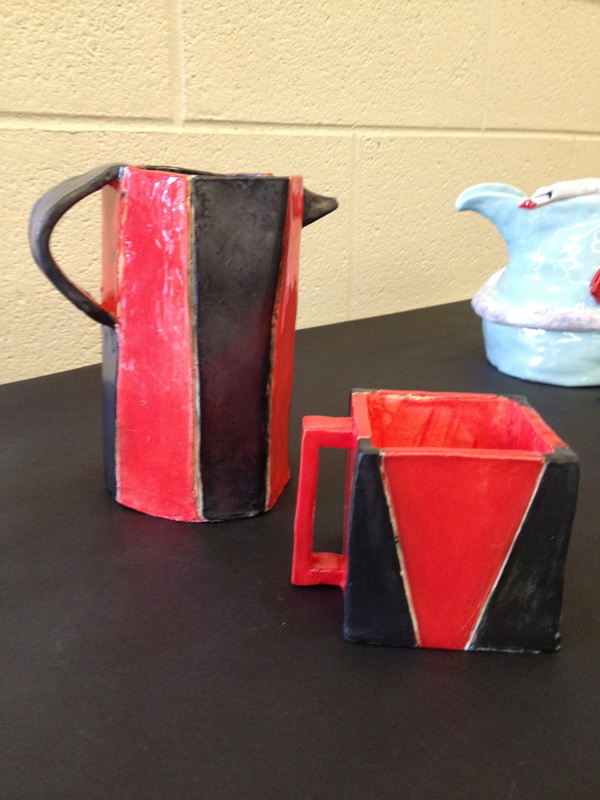
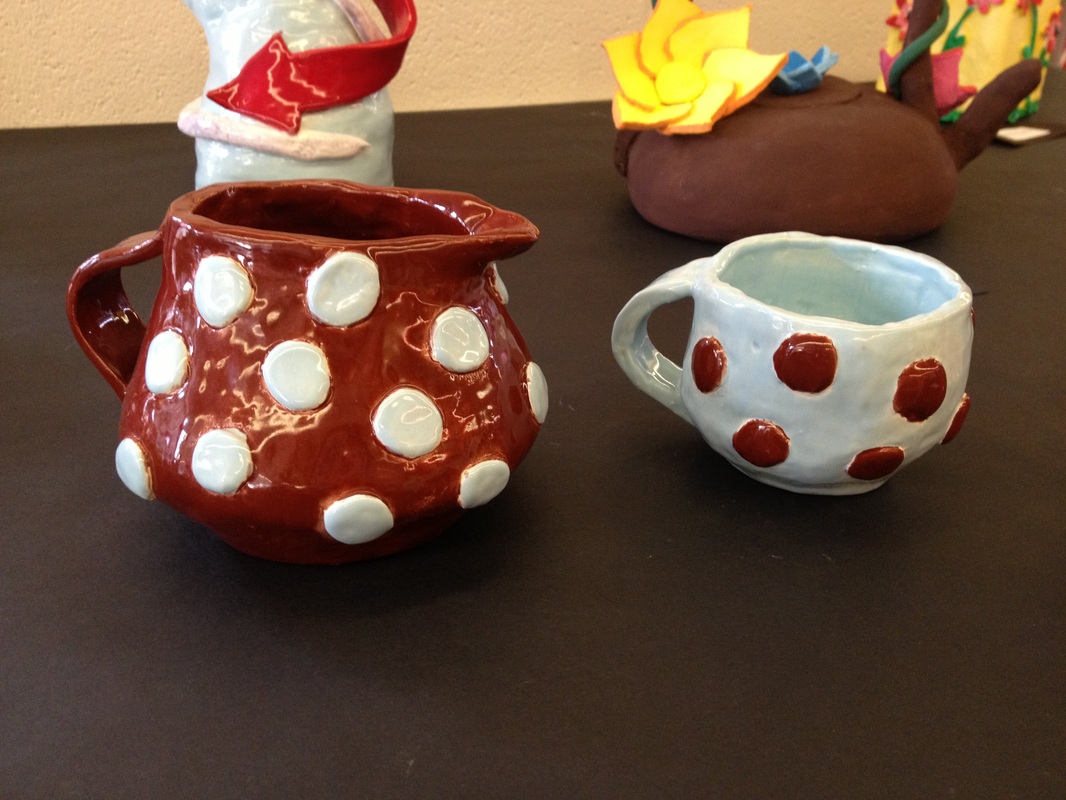
Week 6 & 7 - Clay PitchersMarch 4 - 8 (ACT/MME Week)
-AND- Feb 25 - Mar 1 Objectives: 1. To create a functional pitcher that has a challenging shape other than straight up and down and also has a form of raised decoration. 2. Students must create two matching cups for their pitcher. Brainstorming: Power Point showing various styles of pitchers Hand outs showing different styles of pitchers Trip to the computer lab so that students can print a few varieties of pitchers they like for ideas. Teacher Demonstrations: * Demo on how to start the structure of the pitcher using the coil method. Students were introduced to this method of making pottery 1st semester, however this is a more challenging shape and students are required to change the shape and to smooth out the coils. * Demo on how to create the pitcher using the slab method of pottery. Slab pitcher may not be a cylendar, but a rather a form with angles. * Demo on how to create templates to make the shape of a slab pitcher. * Demo on how to properly form the spout and the handle. |
|
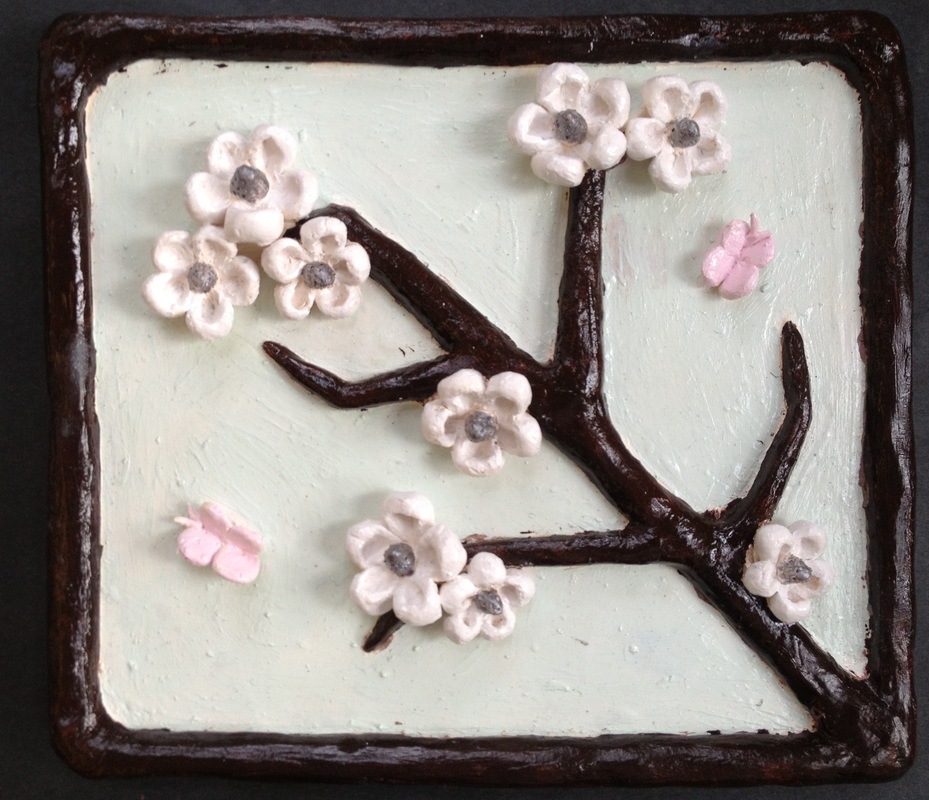
Week 4 & 5 - Wrap up Relief Tiles and Start GlazingFeb 19-22 (Mid Winter Break Monday and Snow Day Tuesday)
-AND- Feb 11-15 (Snow day Monday) Objectives: 1. Students will complete relief tiles 2. Students will paint and glaze animal sculptures and tiles using scumbling technique learned in class. Brainstorming: Power Point of tiles and sculptures that have been painted successfully. Examples of student work that has been painted/glazed successfully. Teacher Demonstrations: Demo on how to get paint into hard to reach places. Demo on "SCUMBLING." What is it and how to do it. Demo on how to add a patina or darkened finish to tiles if desired. |
|
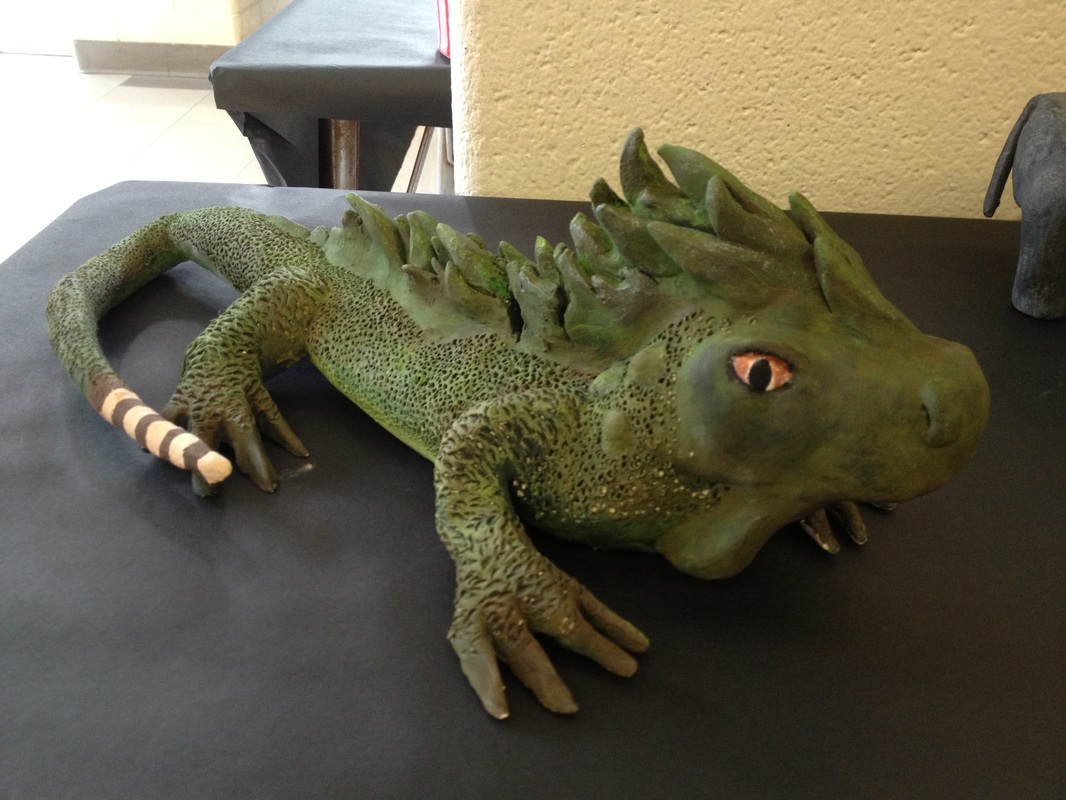
Weeks 2 & 3 - Wrap up Animal Sculpture and Begin Ceramic Relief TilesJan 28 - Feb 1 (Snow Days Mon/Tues)
AND Feb 4 - 8 (Snow day Friday) Objective: 1. Students will wrap up their animal sculptures making sure to add detail and texture 2. Students will design and create a relief tile that successfully shows an understanding of composition and space, texture and dimension. Brainstorming: Examples of past student work Power Point on various approaches to the project. Photocopies of examples Computer Lab signed out for students to get examples of ideas they like and can modify Teacher Demonstrations: Basic group demonstration on how to begin by adding layers to tile as well as carving away areas. - Stress rounding off cut edges so that the tile doesn't look like it has cookie-cuter images on it, but rounded off images. - More detailed painting demonstrations will come after projects are fired. |
|
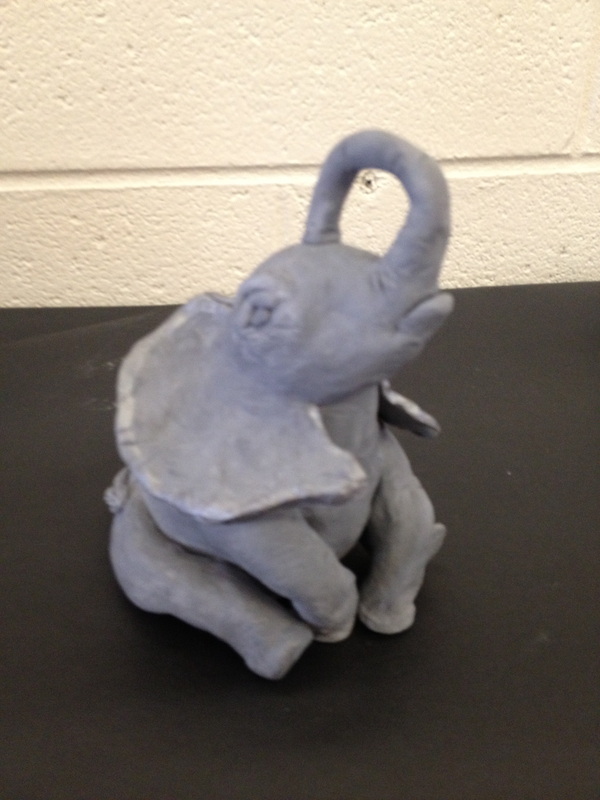
Week 1- Animal Sculpture
|

|
FIRST SEMESTER
Week 17 - Wrap up of All AssignmentsJanurary 7-11
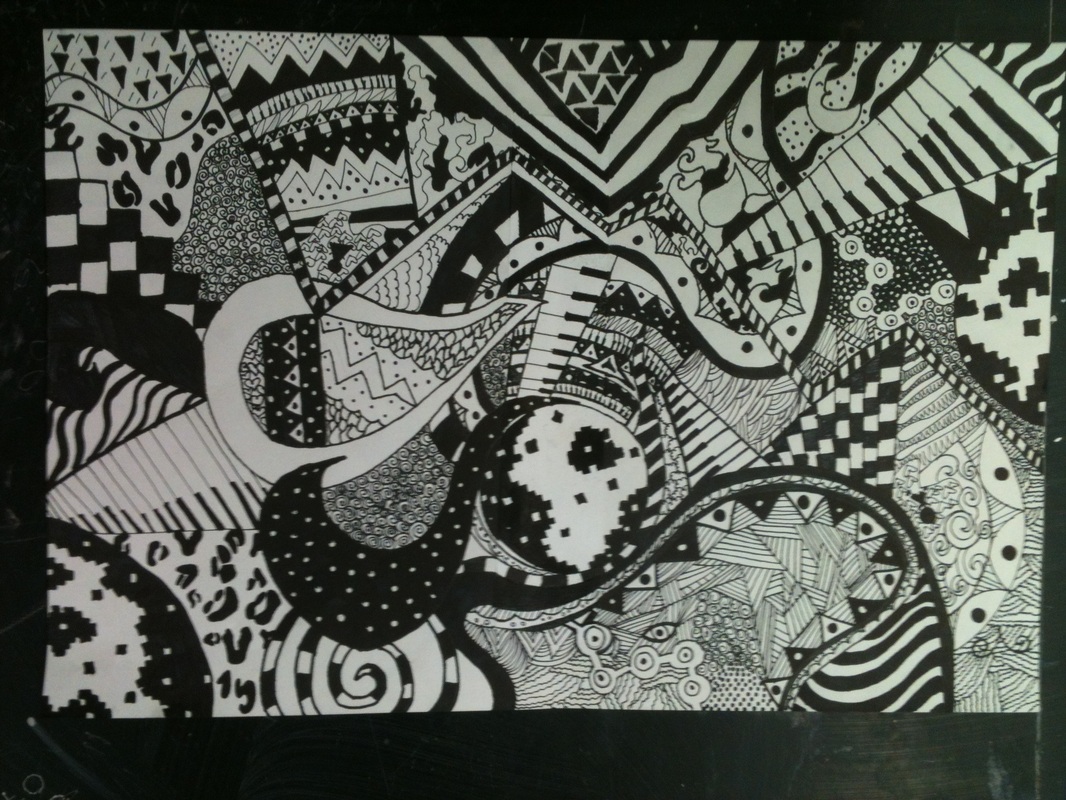
Objectives: Students will complete final projects in whatever stages of completion. (wet clay, bisque or glazeware) Students will complete Independent Drawings utilizing design principles learned in class. Work Week Instruction This week students are completing their final exam projects. Most students have completed the bulk of the work, however most students still need to glaze or paint the bisqueware. Students who have finished their final projects and in class work need to finish their Independent Drawing. This project is a semester long drawing where students used design principles to create an abstract work of art. It reinforced principles learned that apply to all art forms such as: Repetition, Balance, Dominance, Alternation, Contrast and Rhythm. INDEPENDENT DRAWINGS ARE DUE FRIDAY JAN 11TH FINAL EXAM PROJECTS MUST BE GLAZED/PAINTED AND COMPLETED BY THE DAY OF THE FINAL |
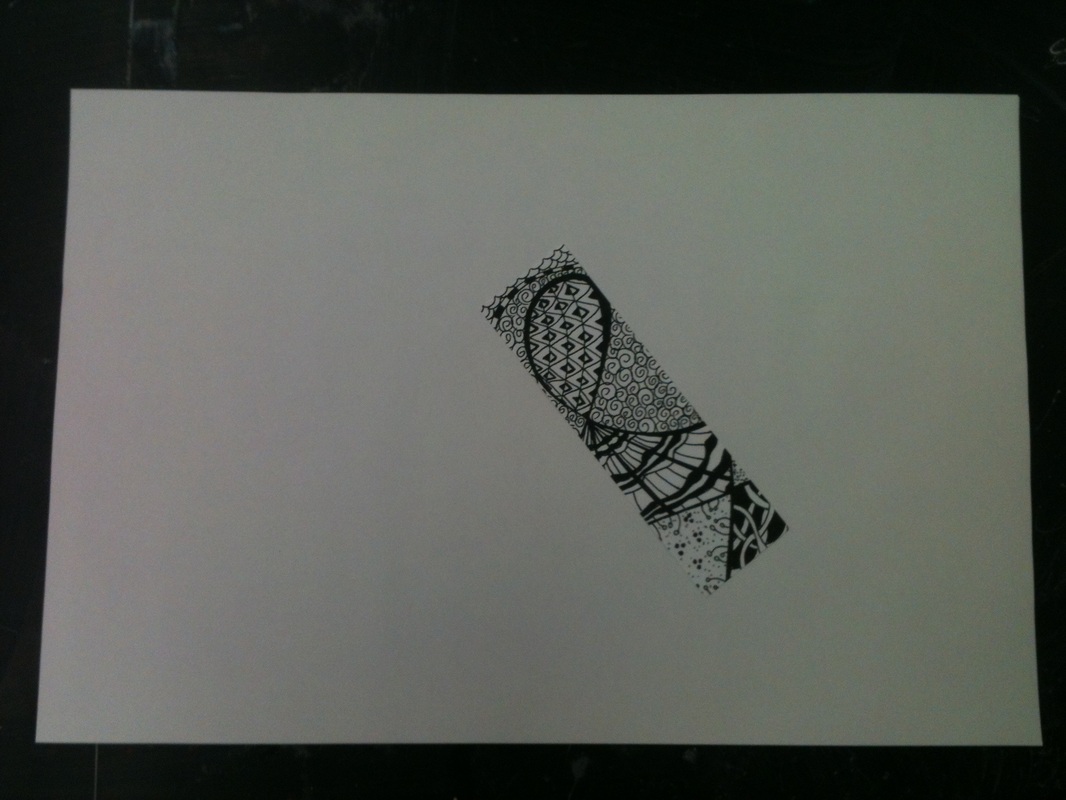
Sart drawing with a small cut strip for kids to base their own design off of.
|
Weeks 15 & 16 - Final Project (10% of final grade)
|

|
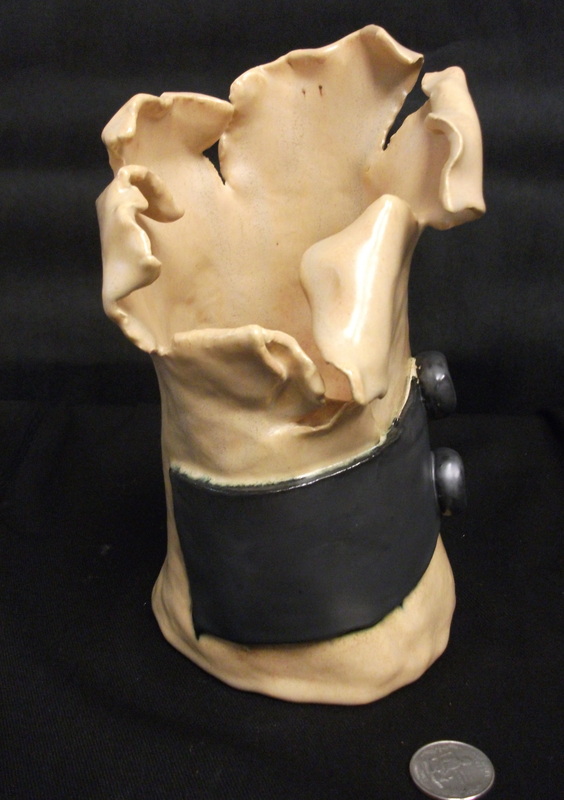
Week 14 - Free Form Slab VasesDecember 3- 7
Objectives: 1. To create a free form slab vase to heighten design skills and loosen creativity. Brainstorming: Students already had a Power Point on the slab vases. Students may use their phones to look up images for ideas on their own projects. Teacher Demonstrations: Teacher will demo different possibilities for creating the free-form vase. Steps for Vase: -There is no one precise way to begin or create this project. The goal of this assignment is to develop creativity as well as to "let go" of rules. Students are encouraged to explore the possibilities, make mistakes and try new things. - Students may wrap clay around another form. - rip the clay - using a paddle, students may beat one piece of clay onto another piece - drop a vase onto its bottom to get a free form piece. - add water to a formed vase and pull it away from the shape. |
|
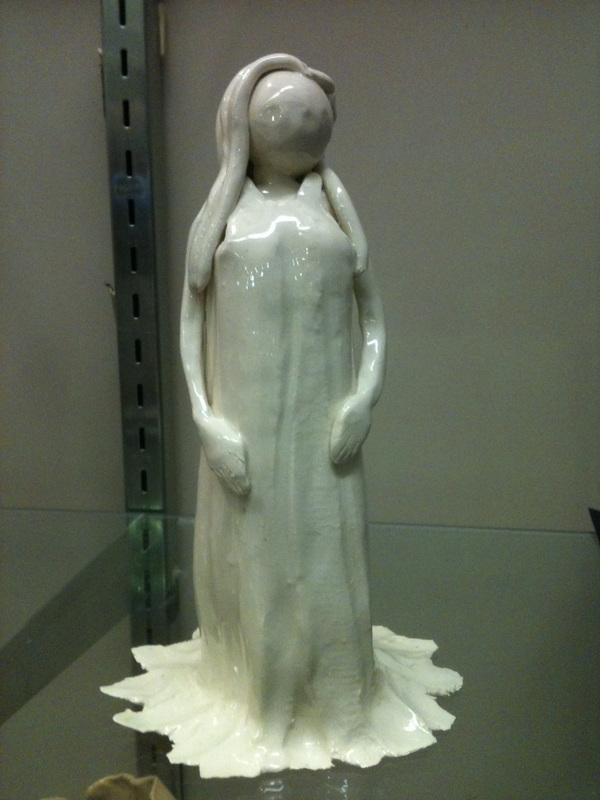
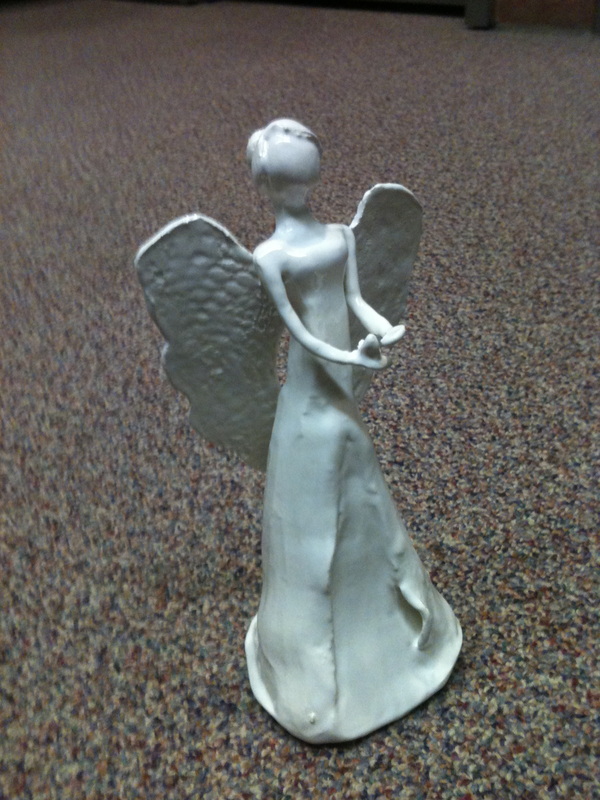
Week 13 - Slab Angels/Fairies/People & Free From Slab VasesNovember 26-30
Objectives: 1. To create a slab angel using design principles and previous handbuilding methods learned in class. 2. To create a free form slab vase to heighten design skills and loosen creativity. Brainstorming: Power Points on both Slab Angels/Fairies as well as slab vases. Students should draw out Angel idea before beginning in clay. Sketch is just a rough idea and may change as the work evolves. Students may search iphones for examples of ideas. Teacher Demonstrations: On how to begin basic human shape using the slab method. (Body/arms/torso/head) Adding texture before or after slab is rolled. Steps: Angels 1. Draw a sketch of idea 2. Roll out slab for body. (add texture if desired) 3. Form the slab into the basic body shape desired. (In most instances a dress) 4. Add other body parts desired. May be simplified shapes. Head does not require facial features in all instances. 5. Add any detail desired. Free Form Slab Vase 1. Students are NOT to draw a sketch but learn to roll with the possibilities as they unfold. 2. Students should pick a basic object to form the foundation of their vase. (water bottle, 2 Ltr, bowl, cylinder) 3. Line the form with newspaper so clay does not stick to the form. 4. Roll out a 1/2 or 1/4 inch slab big enough for the idea. Add texture if desired. 5. Wrap in around the form in one piece or many pieces depending on the idea. 6. Use proper attaching methods 7. Form the vase as tightly or as loosely around the form as wanted. 8. Explore and exaggerate and have fun! |

|
Week 12 - Glaze Projects and Extra Credit Tiles/Ornaments & Art Blog
November 19-20 (Thanksgiving Week)
Objectives:
1. To paint and glaze any and all outstanding clay projects (platters, sculptures, sgraffito mugs) using knowledge of color theory learned in class.
2. Students who are finished or desire to gain extra credit may create a tile in one day which will be donated to the school for the Chinese teachers.
Two-Day Workweek Activities:
3/4 of the students still have clay work to glaze or paint. They will continue with this activity over the course of the 2-day workweek. Any student who wishes to gain extra credit may create a 1day tile which may be donated to the school for the Chinese teachers. Tiles must be completed in 1 day, so that sufficient time tis given for drying. If the tile is created and painted well, extra credit will be given for the tile.
If students do not wish to create a tile, they must work on their Independent Drawing which is due the week we return from Winter Break. Students may also create a holiday ornament if they wish.
Art Blog Post:Click on the file below for directions to the Quarter 1 Ceramics Blog Post.
| quarter_1_reflection_blog_ceramics.pdf |
Week 11 - Finish (paint) Pinch Pot Sculptures and Misc GlazingNovember 12- 16
Objectives: To paint and glaze any and all outstanding clay projects (platters, sculptures, sgraffito mugs) using knowledge of color theory learned in class. Teacher Demonstrations: Teacher will demonstrate, again, the best way to use acrylic paint when painting on clay.
Brainstorming: Students are encouraged to use their ipods or phones to look up color choices for their sculptures. |

|
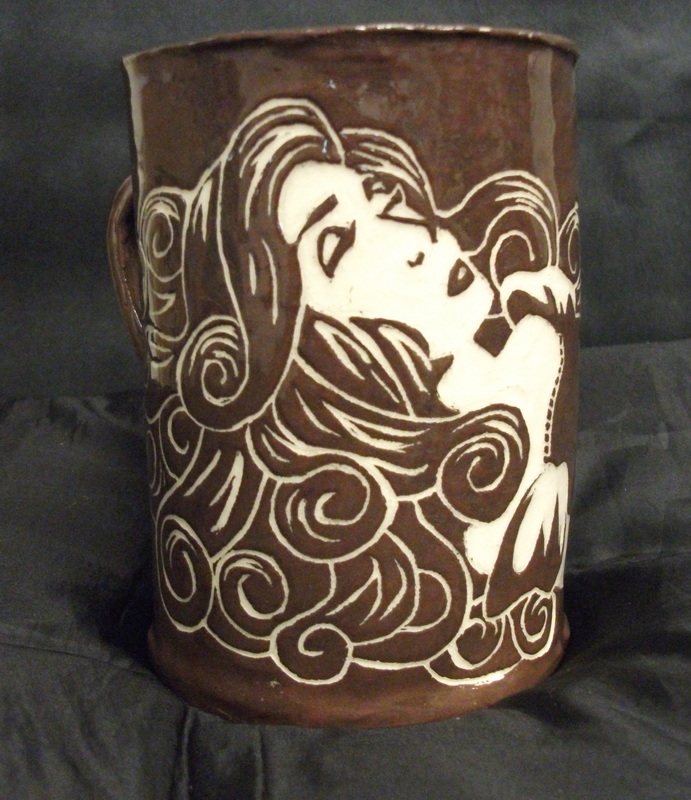
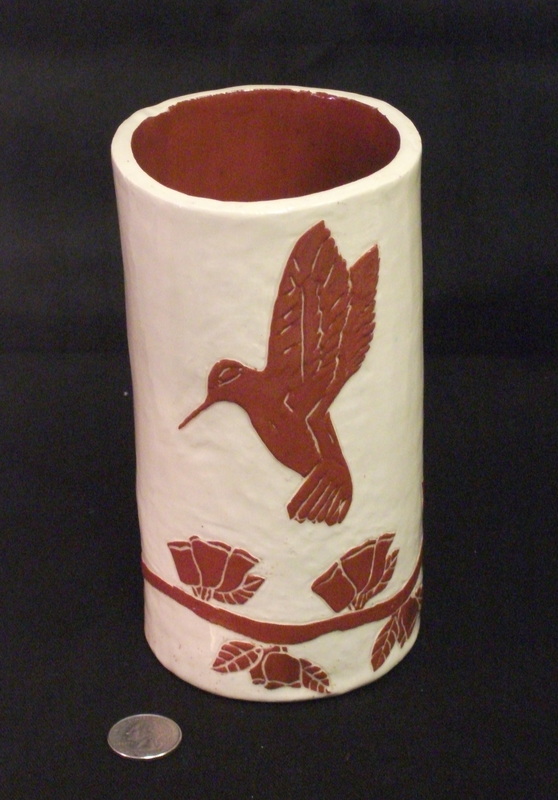
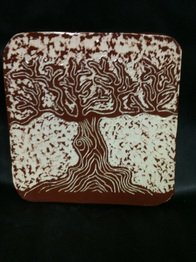
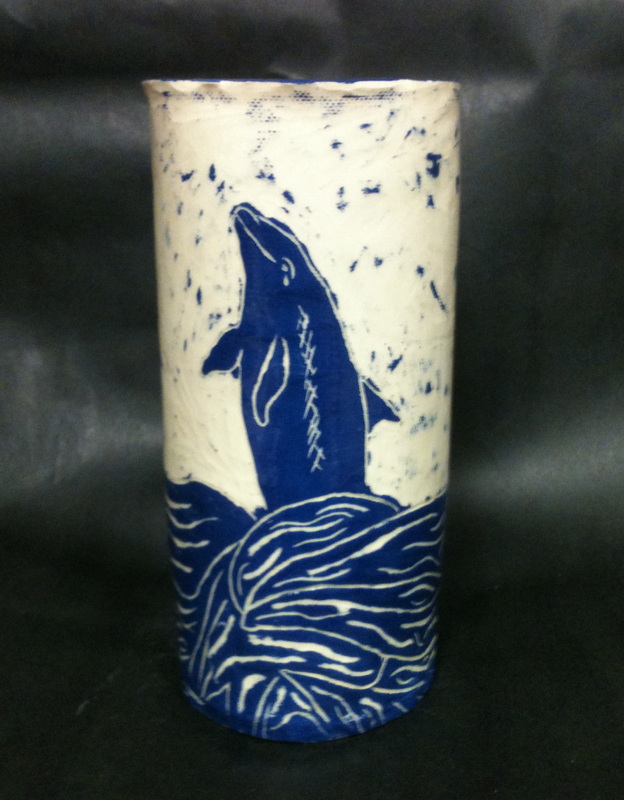
Week 10 - Sgraffito Vases/MugsNovember 3 - 7
Objective: To learn the Sgraffito technique as applied to pottery To strengthen drawing, design and creativity skills Teacher Demonstrations: - On how to make and attach handles for mugs - How to transfer drawing to clay - How to carve out negative shapes in the drawing using the various tools found in the room - Show students the different textures that can remain when carving. (Some students may want the background smooth, with no color remaining, while others may enjoy some of the remaining texture and color showing up in areas.) Weekly Activities: Students will be working on two different projects throughout the week. While they are waiting for the underglaze on their mugs/vases to dry, students will be working on glazing their platters. (We are still waiting for some glaze colors to come in.) Once underglaze has dried, students will work on CAREFULLY carving away their drawings. This should be done slowly and with care. |
Scholastic Honorable Mention
Scholastic Honorable Mention
|
Week 9 - Sgraffito Vases/Mugs
|
October 29 - November 2
Objective: To learn the Sgraffito technique as applied to pottery To strengthen drawing, design and creativity skills Brainstorming: Students will see a Power Point and watch a video on how to create Sgraffito pottery. Handouts will be on the table to aid students with design ideas Students will need to create 2 thumbnail sketches to come up with an idea prior to making the clay work. Teacher Demonstrations: - On how to begin the drawing and work with positive/negative space - How to create the slab vase - How to transfer drawing to clay - How to make home-made sgraffito tools Steps: 1. Start with brainstorming ideas 2. Draw out image well on the paper provided, as this final image will be traced onto the clay. 3. Create a base for your vase or mug and roll out a slab to wrap around it. 4. Create a handle for mug and shape (put on later) 5. Paint the leather hard clay with an Engobe color of choice. 6. Transfer drawing to the clay. 7. Start carving away the drawing. Leave a good balance between the positive and negative space. |
Not a mug or vase, but some kids did tiles.
|
Week 8 - Glaze and Paint
|
October 22 - 26
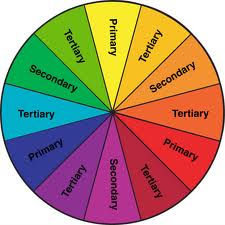
Weekly Objective: To learn and understand the basics of color theory and hot to apply that knowledge to students own artwork Demonstrations: Teacher explanation of the Color wheel. Teacher Demo on how to mix and blend paint to create more sophisticated color patterns Thorough explanation on the differences between glaze and paint and what looks better for what kind of project. Learning Activities: Students will complete a Color Theory worksheet and write the definition and paint the following: * Primary Colors * Secondary Colors * Tertiary Colors * Analogous Colors * A value of Analogous Color * A value of Tints * A Value of Shades After Completion of the Color Theory worksheet students will choose whether to paint or glaze their artwork. |
|
Week 7 - Continue with Pinch Pot Creatures and Glaze/PaintOctober 15-20
Weekly Objectives: To learn the Pinch Pot method of handbuilding in clay. To develop student creativity and problem solving skills.To hone in on craftsmanship while finishing a Bisquare piece with paint or glaze. Teacher Demonstrations: Demonstrations on how to hollow out clay sculptures so they will not blow up. Where/why to poke holes in the pinch pots. How to attach limbs so they do not crack and break off How to use paint on glaze and/or paint with care! Weekly Activities: Students are at various stages of the project. Some students will need 3 or more days to complete the sculpture project, while some may be ready to glaze other projects on Tuesday. We are backlogged with projects due to the broken kilns, but are expected to have some work to to fire and glaze starting Tuesday. This week we are working to hone in on craftsmanship in the final phase of creation - the finishing phase. Students will be expected to slow down and paint/glaze with more care than in the beginning. |
Variation of a project I've done in earlier years
|
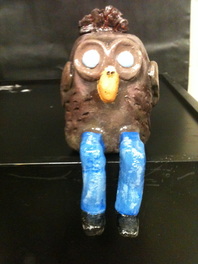
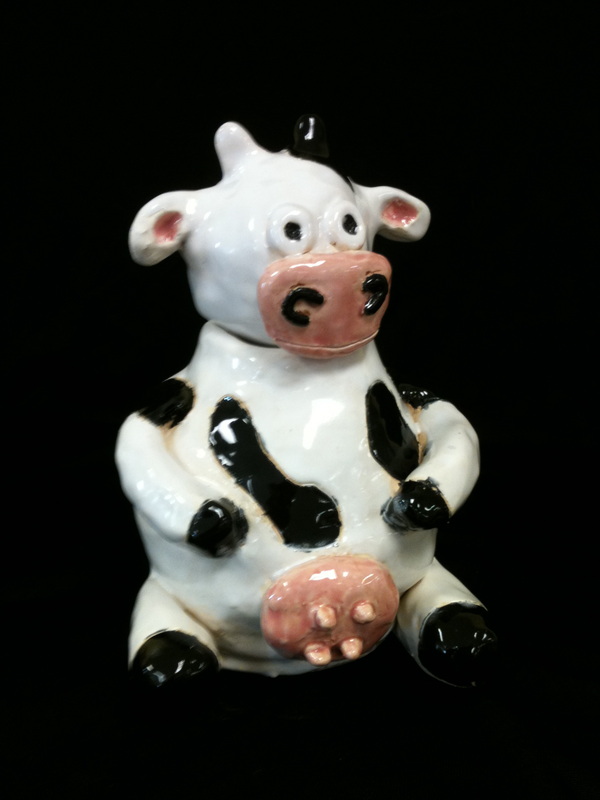
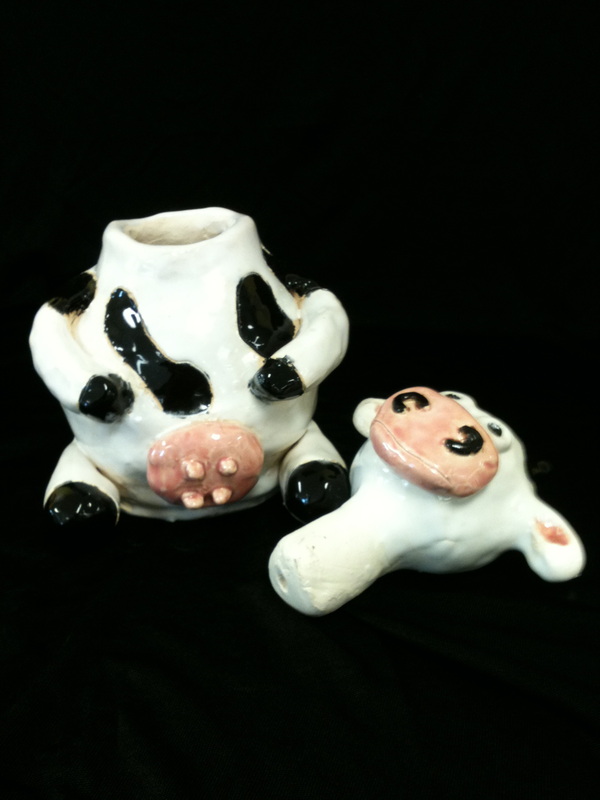
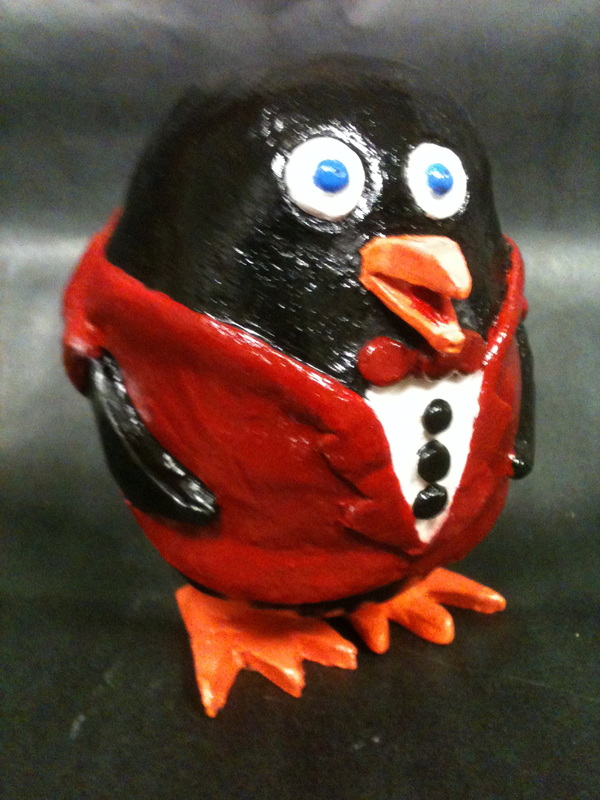
Week 6 - Pinch Pot CreaturesOctober 8-12
Objective: To learn the Pinch Pot method of handbuilding in clay. To develop student creativity and problem solving skills. Brainstorming: Students will be shown a Power Point of example work Students will have hand outs placed on tables of creature images for idea development Students will draw out their image before beginning Teacher Demonstrations: Teacher will give a demonstration on how to two pinch pots and put them together to form the body of a creature. Teacher will also demonstrate how to add extremities and detail characteristics to make the sculpture more advanced. Steps: 1. Draw out idea 2. Form 2 pinch pots and attach together using slip/score method 3. Work on making a head for your creature. ALL FEATURES MUST BE ADDED ON AND NOT DRAWN ON. 4. Work on adding arms, legs, clothing. 5. REQUIREMENT: Creatures must be able to stand on their own and have clothing. |
|
Week 5 - Glazing and Texture PlattersOctober 1-5
GLAZING: Objective: Students will understand the difference between paint and glaze. Students will learn the basic properties of glaze, how it is applied, how it looks before and after firing. Students will understand the basic functions of the kiln Brainstorming: Students will be shown various glaze colors and how they look when applied to clay. Teacher Demonstrations: How to apply and wipe away glaze Students will go in small groups to look inside the kilns and see the hardware used for firing Steps: * Clean brush before use * Sand away excessive rough areas on Bisqueware * Apply 3 even coats of glaze (wait 3-5 min between coats.) * DO NOT APPLY GLAZE TO BOTTOM OF POT OR IT WILL STICK TO KILN SHELF. * Stress that color in the bottle will appear different after firing Texture PlattersObjective:
Students will build upon prior knowledge of clay construction to build an attractive serving platter. Students will learn about the Principles of Design and how to apply those principles to their own artwork. Students will learn to add texture to clay. Students will learn the difference between "functional" and "decorative" artwork. Brainstorming: Power Point on the Principles of Design as applied to clay Visual examples of platters Draw out ideas for platters Teacher Demonstrations: Group demonstration on how to construct the platter. How to add texture to slab clay. How to add three dimentional elements and how to finish off with good craftsmanship. Steps: 1. Students will first draw out possible ideas for their platter. 2. Students should experiment with different textures to find which ones they like. 3. Once a texture pattern is found, students should roll out a large enough slab to cover a paper plate. This will form the structure for their platter. 4. Students may follow their sketches for the platter or design on a whim so long as a minimum of 3 design principles are followed. |
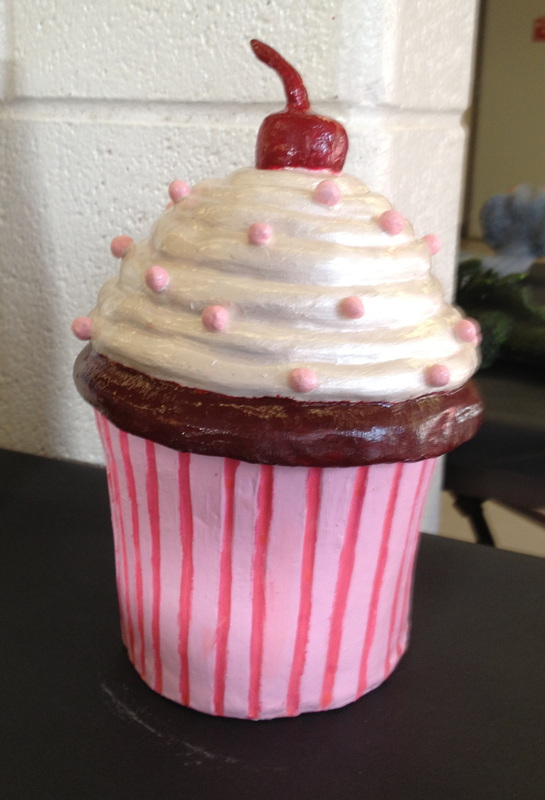
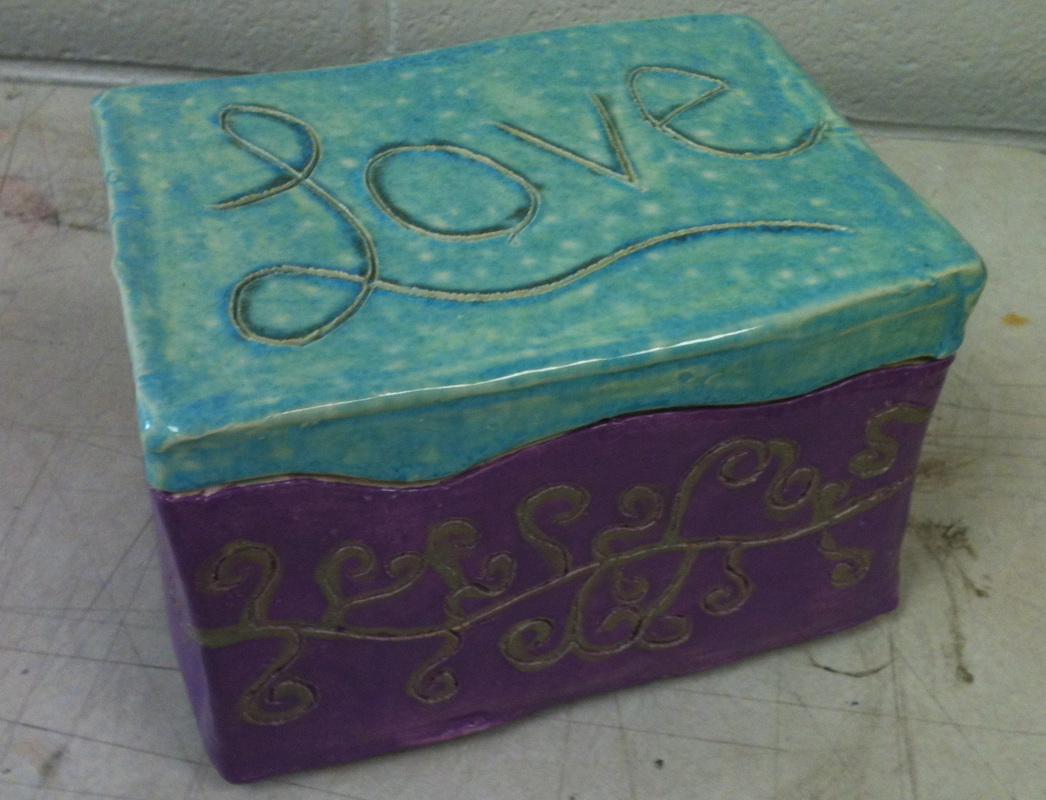
Slab box. Cupcake lifts off.
|
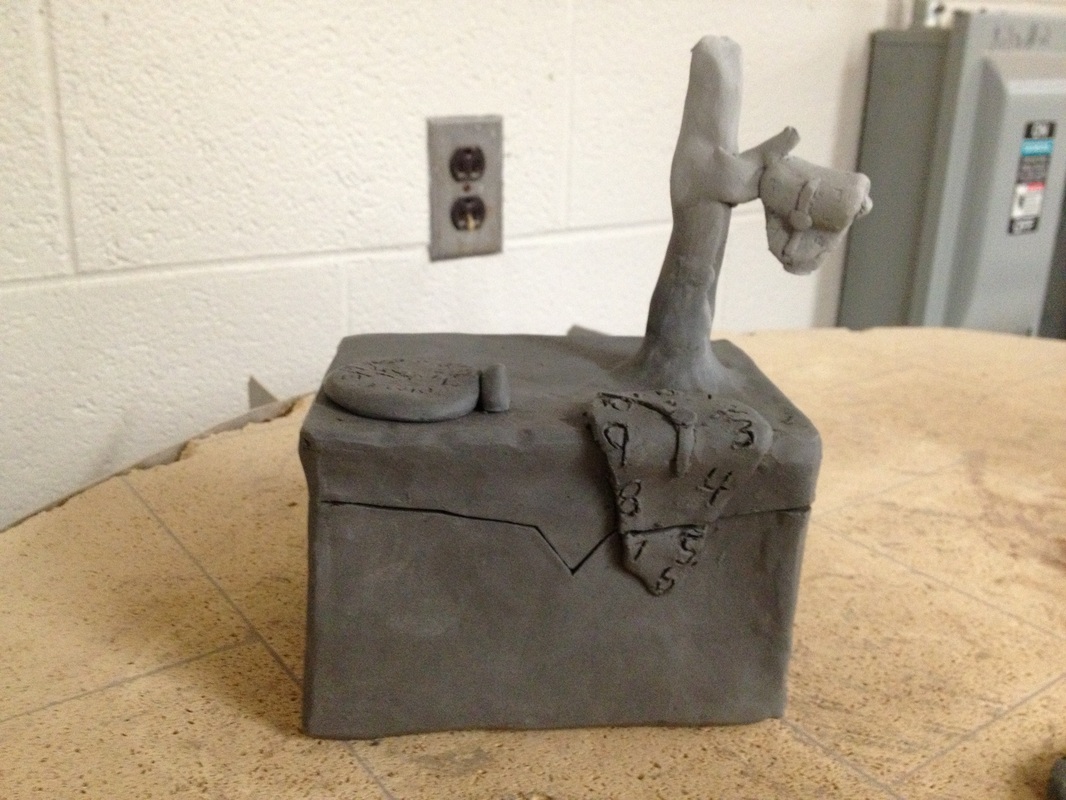
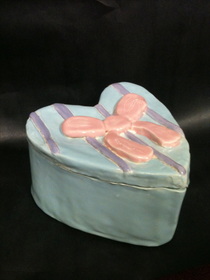
Week 4 - Continue Slab Containers and Glaze PrepSeptember 24-28
Objective:
Students will continue work on their slab containers. The focus this week will be to achieve good craftsmanship on their boxes (90degree angles on corners, smooth edges, even out the tops of boxes) and to get creative with decoration. Brainstorming: * Photocopies on the tables of example work * Teacher example of the project so that they know what it should look like. Teacher Demonstrations: * How to add the inside lip of the box * How to add decoration through carving and adding clay. Glaze Prep Most students will need until the end of the week to finish their boxes, but some will finish early. The early finishers will prepare the glazes for the coming week. Many glazes need inventorying, stirring and need to be mixed. This is all a part of the learning process of what is involved in the creation of ceramic work. |
|
Week 3 - Slab ContainersSeptember 17-21
Objective:
Students will create simple to complex box containers using the slab construction method. This is a basic hand building skill that will be necessary for future lessons. Brainstorming: * Power Point of different examples for slab containers * Draw out sketches for their own pots * Draw out templates for clay Teacher Demonstrations: * How to roll larger slabs * How to use sticks to roll out even slab * How to measure out sides to that box is even * How to attach clay walls together * How to cut apart the lid * How to add inner lip * How to add finishing design Steps: * Begin with sketch * Draw out templates with exact measurement * Roll out slabs and lid * Let dry to leather hard * Attach slabs with coil reinforcement * Cut creative top when all sides are joined * Add feet to the bottom of box * Add thoughtful and creative decoration of choice |
|
Week 2 - Coil PotsSeptember 10-14
Objective:
Students will learn how to create a decorative pot using ancient coil building techniques. Pot must be no smaller than 7 inches. Brainstorming: * Power Point on history of clay, cultures who have used coil techniques and examples of modern day coil pots * Draw out sketches for their own pots Teacher Demonstrations: * How to start the base of pot * How to roll coils. * How to properly attach coils * How to add decorative elements and attach them together. Steps: * Begin with sketch drawing * Roll out slab for base * Start rolling coils and build higher * add decoration to pot by adding design elements |
|
Week 1 - Mini TilesSeptember 5-7
Objective:
Students will create 2 tiles. One raised tile while the clay is "Plastic" and one carved tile while the clay is "leather hard." Brainstorming: * Photocopies of Pewabic Pottery and nature inspired tiles * Draw out possible ideas for tiles Teacher Demonstrations: * All hour demonstration on the properties of clay. How to wedge, use slip, scratch and score. Leather hard vs plastic stages of clay. *Discuss what makes clay explode in kiln. *How to store clay overnight. * How to carve once leather hard Steps: * Begin with sketch drawing * Roll out slab for 2 tiles * Use Solo Cup for template * add decoration to tile #1 using scratch and score method * Smooth out rough edges * Carve out 2nd tile once it becomes leather hard. * Smooth out edges. |
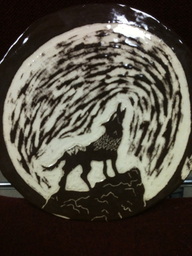
Found on Ceramics Arts Daily website
Plan for finished product. |
